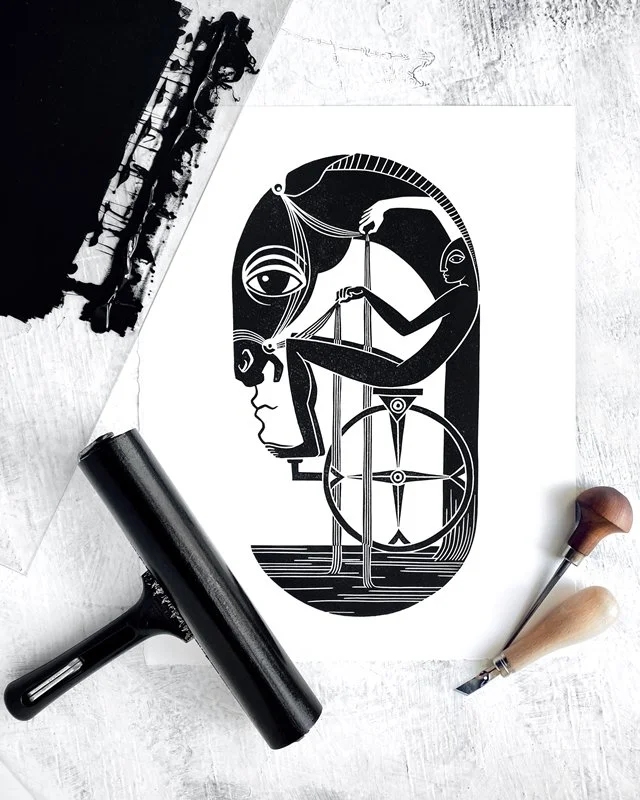
LINOCUT PRINTMAKING
A STEP BY STEP Guide
All of my linocut prints are designed, carved and pressed by hand in my little home studio in the Northeast of England.
I get a lot of questions about how the process works, so I've tried to give a clear outline of the main steps involved in creating a print from start to finish.
DESIGN
I begin by sketching my design digitally using a program like Sketchbook, but you can equally draw out your design in pencil on paper (or straight onto the lino block if you're not a planner!). Don’t forget to reverse the image - especially if it contains text! The design is then transferred onto the lino block using tracing paper and pencil.
Once transferred, I use a permanent marker pen to reinforce the lines and stop them from smudging during carving, and block out the areas that I don’t want to carve away by colouring them in. This helps to avoid confusion later about what to keep and what to carve, especially if your design is particularly intricate. If you’re using softcut lino, a ballpoint pen can also work well for the detailed parts.
If you’re using traditional grey lino, you can use a wash of watered down acrylic paint or Indian ink to help differentiate the surface of the lino from the carved parts as you’re working (this won’t work so well on softcut lino).
⦿

CARVING THE BLOCK
Using a collection of lino-carving tools or ‘gauges’, the negative parts of the image are carved away, leaving the raised parts ready to take the ink.
It can help to use a small exacto knife for the fiddly bits (depending on the type of lino you’re using), and a wider gauge for clearing away larger areas. I tend to start with the exacto knife for all the edges of the design, then move to a small V-shaped gauge for clearing away between shapes and a wide U-shaped gauge for larger areas and the edges of the block itself.
As I’m carving, I use a SlipStrop sharpening block to sharpen my blades every ten minutes or so. This is important for keeping all the lines clean, particularly for the exacto knife, which is not technically designed for carving lino and can blunt faster than posher tools.
⦿
Registration
In printmaking, registration is the process of lining up individual or multiple printing plates in order that they print in the same relative position on the paper each time.
To register my prints, I use a piece of mountboard that is trimmed down to the same size as the paper I am printing on. Position the lino block in the centre of the board and draw round it with a pencil, reinforcing the corners of the outlined area with masking tape so the block has a kind of groove to slot into each time.
Most of my prints are single-colour, single-block designs, but this method of registration works for multi-block printing too.
⦿

INKING THE BLOCK
I use oil-based relief printing inks which are rolled out onto a large sheet of perspex or glass (from an old picture frame, for example) using a roller or brayer.
Working the roller in all four directions helps spread the ink evenly across the surface of the glass.
When the ink feels evenly distributed and slightly tacky under the roller, it is ready to be rolled onto the lino block. Once evenly covered, the block can then be carefully placed into its position on the registration board.
⦿
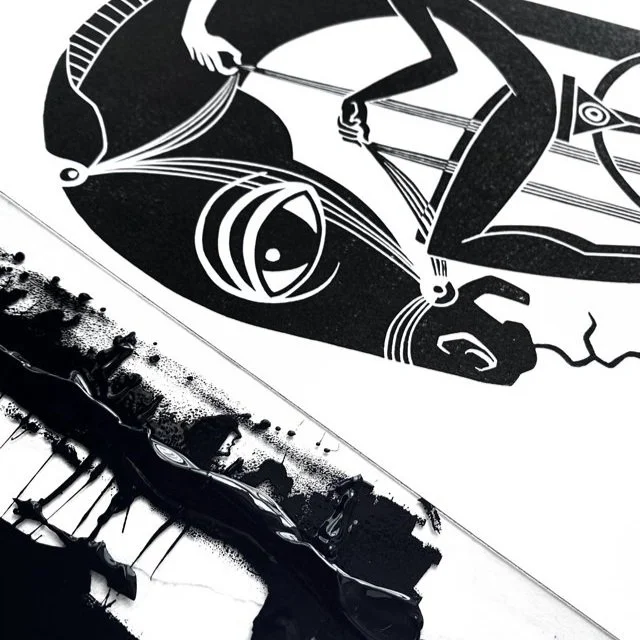
BURNISHING
Holding the paper by diagonally opposite corners, it is laid gently over the inked block, with the top edge of the paper lining up exactly with the top edge of the registration board.
A hand-held burnishing tool or baren is then used to apply pressure to the back of the paper in smooth circular motions. This is called the burnishing method and can also be done using the back of a wooden spoon.
The amount of pressure needed varies greatly between different paper types; Thicker, more porous papers require much firmer burnishing than delicate papers like Japanese rice paper, for example, which require almost no pressure at all. Experimentation is the best way to get a feel for what works best with different combinations of materials.
For years I’ve made all my prints using this traditional burnishing method, but I have recently also started experimenting with a wooden lever press by Woodzilla. You can see how this works by visiting the Woodzilla Press youtube channel.
⦿
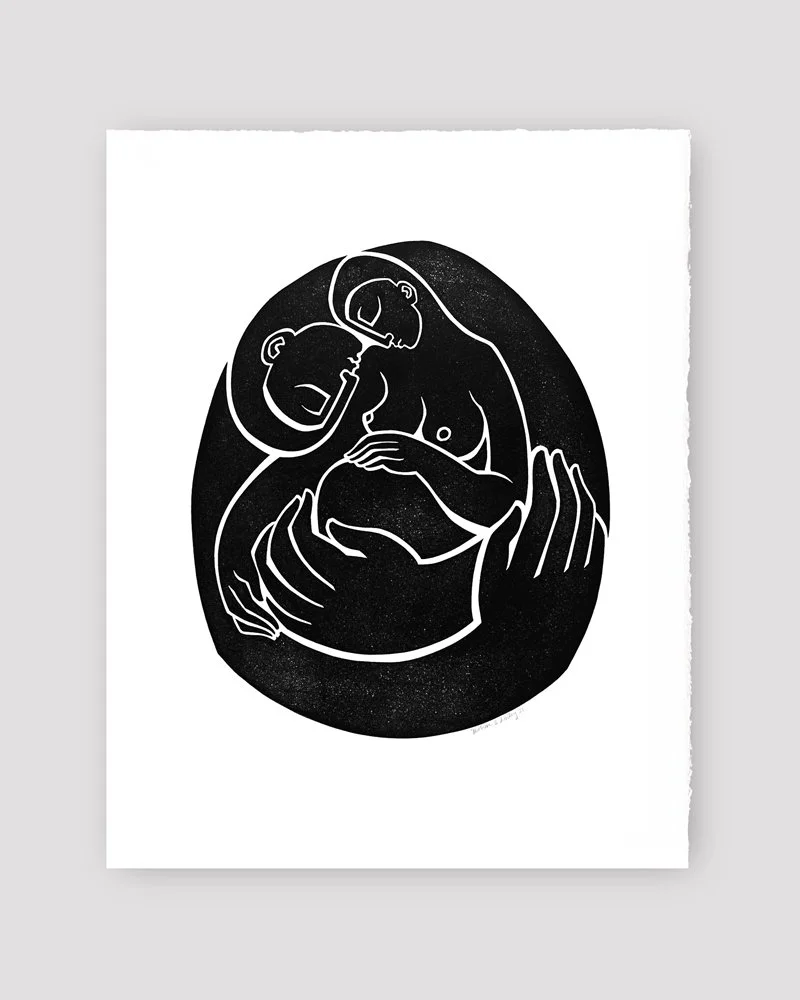
tHE REVEAL PEEL
Once burnished, the print is ready to be peeled off the block gently and slowly, before being hung or laid flat for at least 24 hours (depending on the type of ink) to dry.
If you have any tiny spots or areas that haven’t printed properly, you can use a corner of a piece of cardboard to touch these up by dabbing them with very tiny amounts of excess ink.
To dry my prints, I use a DIY drying rack that I made from a shower curtain pole, elastic bands and pegs. I’ve shared instructions here if you fancy giving it a go!
⦿
CLEAN-UP
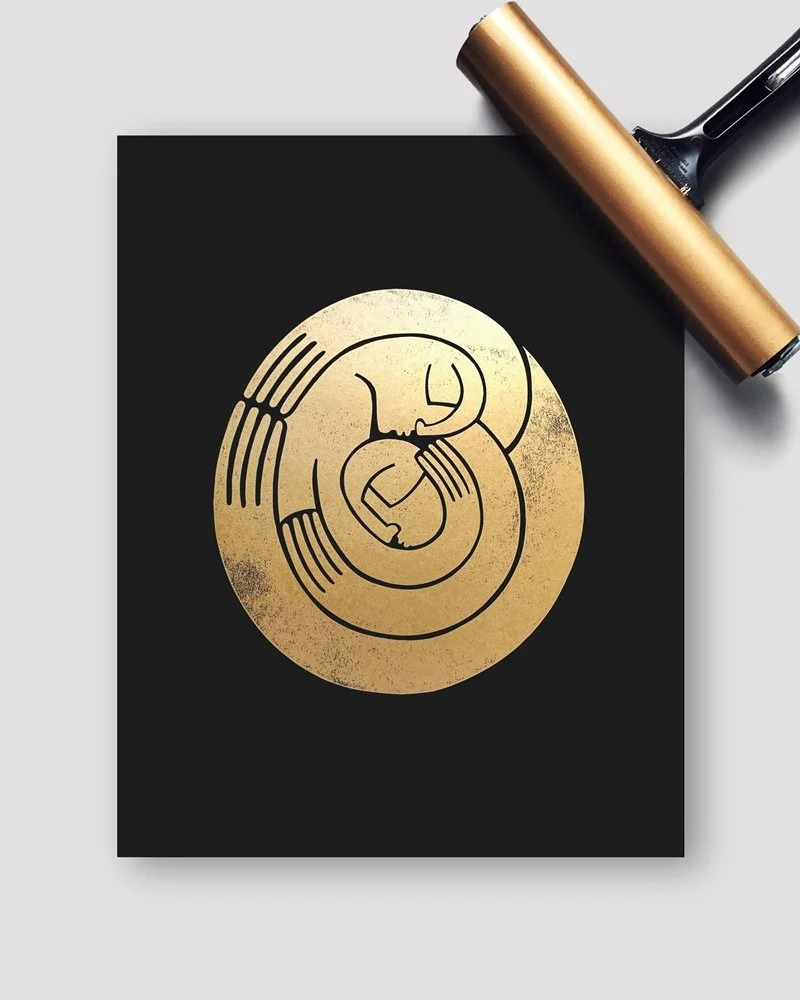
The cleaning method depends on what type of ink is being used. For most of my prints, I use Cranfield’s Safe-Wash range of relief inks which are oil-based but have a formulation that means they’re washable with soap and warm water.
Cranfield’s traditional range (such as their gold and silver inks) have a linseed oil formulation so they require vegetable oil or white spirit for clean-up.
I use a cotton rag or a baby wipe to wipe everything down, removing any excess ink by rolling it out onto newsprint first.
⦿