TOOLS & MATERIALS
For linocut printing

I get asked a lot of questions about the tools and materials I use in my linocut practice, so I’ve put together a bit of waffle about it here.
I learnt so much from the lovely printmaking community on Instagram when I was new, so it feels right to give something back, and share some tips for anyone just starting out with printmaking.
Ink
Caligo Safe Wash relief inks by Cranfield Colours
⦿
Traditional oil-based relief inks by Cranfield Colours
I use the Crafield’s Safe Wash range for most of my prints. These are oil-based so the colour is deep and rich, but they’re made with a special formulation that allows them to be washable with water. This means they’re easy to work with and the clean-up is free from chemicals and faff.
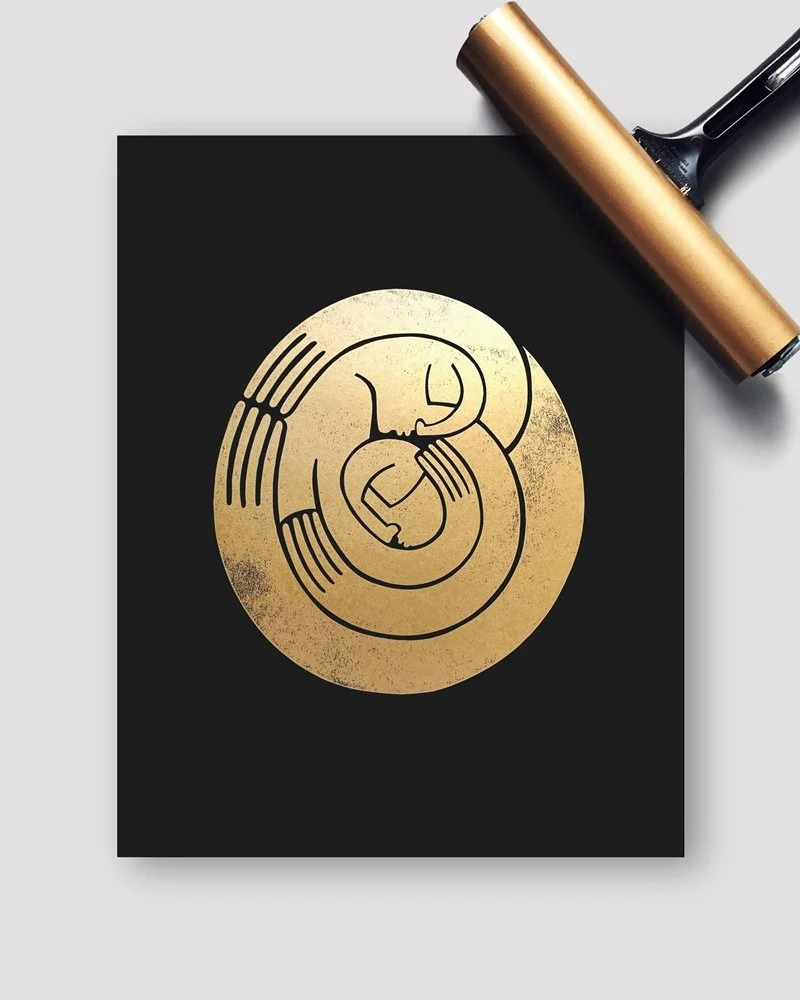
The gold ink I use in my prints is from Cranfield’s traditional range. These inks have a stickier consistency, but the high-quality linseed oils and lightfast pigments they’re made from mean the print quality is exceptional. If you are hand-burnishing (as opposed to using a printing press), you may find it helpful to use an extender to make the ink easier to roll out.
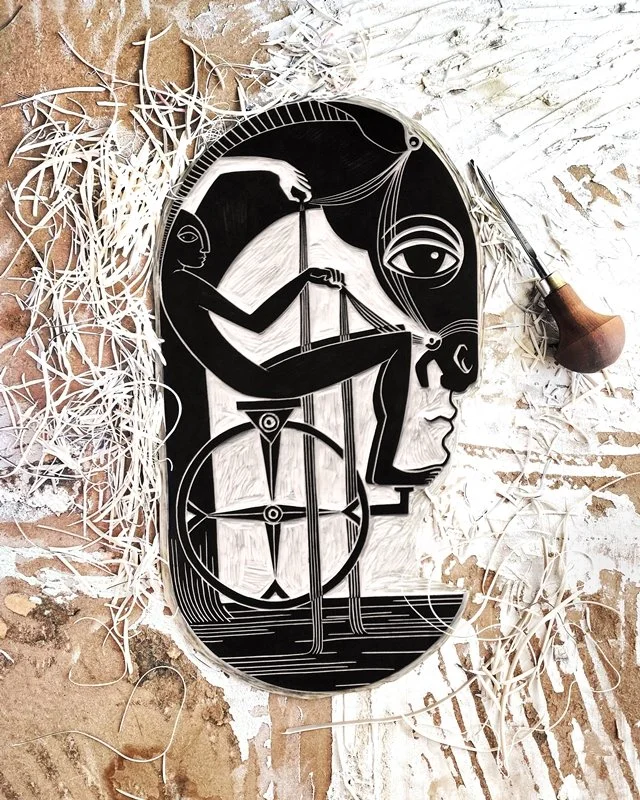
Carving Tools
Pfeil 12/1 V-gouge
⦿
Essdee linocutting tool with interchangeable blades
⦿
Exacto knife from any craft shop
⦿
SlipStrop sharpening block by Flexcut
I usually begin carving using the exacto knife for all the edges of the design, then move to a small V-shaped gauge for clearing away between shapes and a wide U-shaped gauge (I use one of the wider blades that comes with the red Essdee tool) for larger areas and the edges of the block itself.
As I’m carving, I use a SlipStrop sharpening block to sharpen my blades every ten minutes or so. This is important for keeping all the lines clean, particularly for the exacto knife, which is not technically designed for carving lino and can blunt faster than posher tools.

Lino
SoftCut lino by Essdee
⦿
Speedball’s Speedy-Carve blocks
SoftCut is a softer, more rubbery version of traditional linoleum. I use it because I prefer the way it carves; a freshly sharpened tool really will glide through its surface like butter. Its increased flexibility compared to the standard hessian-backed grey lino gives it an indestructible feeling, and means I never have any problems with my blocks curling during printing or cracking from repeated cleaning.
Speedy-Carve (the pink stuff) is even softer than SoftCut, and I use it for carving my signature stamps and packaging stamps. It’s very easy to carve, and pencil images can be transferred ridiculously easily onto its putty-like surface by placing the image face-down on the block and rubbing gently with your fingernail on the back.
Nearly every printmaker I’ve spoken to has a different opinion about what constitutes ‘good’ lino. Softcut is my personal favourite because of the way it interacts with the other tools, materials and techniques I use, but if you’re new to printmaking, I would definitely recommend trying a bit of everything before settling on one type of lino.

Rollers/Brayers
Essdee Professional ink roller (20cm)
⦿
Speedball pop-in soft rubber brayer (4”)
I use the 20cm professional roller by Essdee for most of my prints. It has a heavyweight, chunky rubber roller making it really satisfying to handle, and its extra width means it covers most of my lino blocks comfortably. This makes it easy to achieve even coverage with no unwanted streaks caused by the edges of the roller touching the block.
For smaller blocks or designs with multiple elements that need to be printed at the same time, I use the 4” Speedball brayer. This is made from a much softer, more flexible rubber, making rolling out ink quite an addictive process, especially with the traditional gold ink I use, which can feel quite tacky with harder rollers.
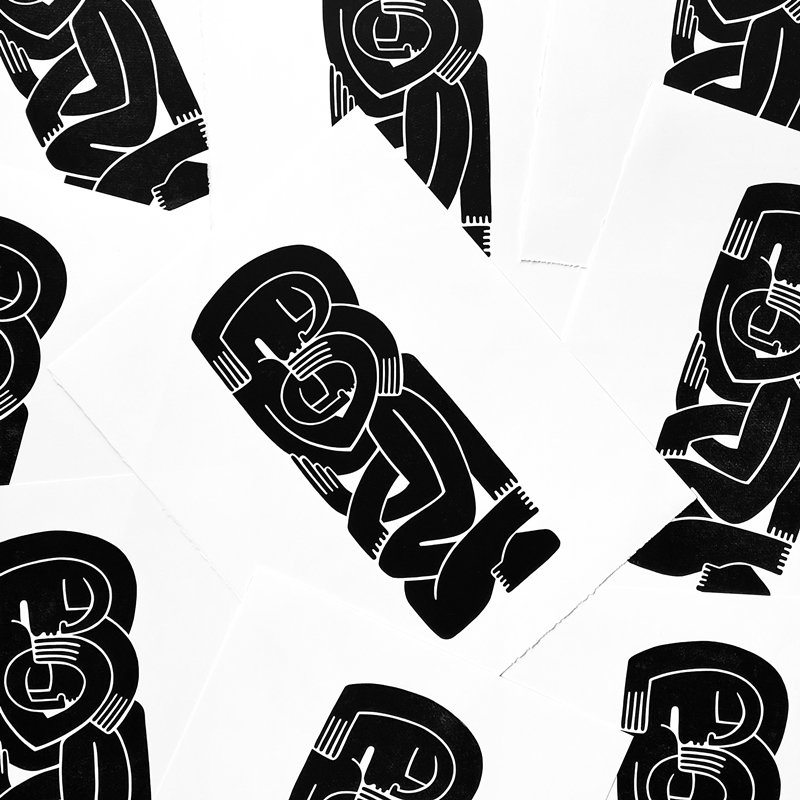
Paper
100% cotton, 250gsm printmaking paper by Somerset (satin white)
⦿
150gsm Daler Rowney Canford paper (black)
After a lot of experimenting with different types of paper, I finally landed on these two as my staples because of the way they work with the other materials and the burnishing methods I use.
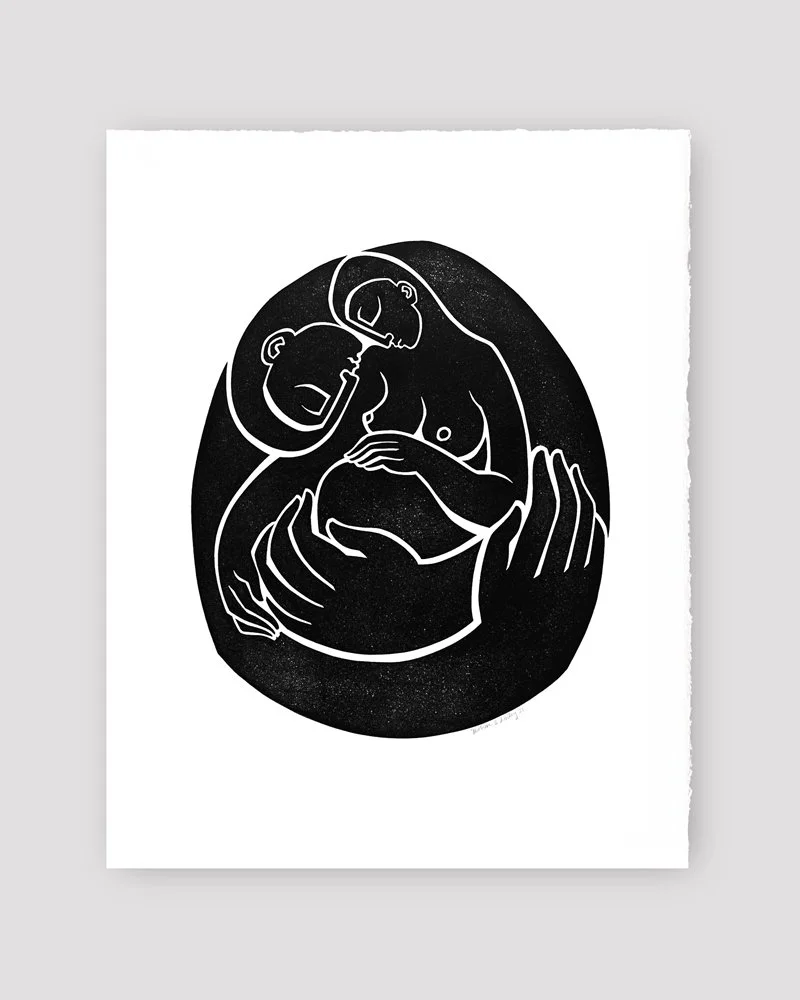
The Somerset paper is thick and soft, giving prints a subtle texture and richness, despite its relatively heavy weight. This is the only heavyweight paper I’ve found that works effectively with the hand-burnishing method (lightweight papers traditionally work better with this method). The Daler Rowney black paper also works well with hand-burnishing, and I use this paper for all my gold prints.
I’m personally a fan of incorporating texture into my prints; for me, this is a way of celebrating the handmade nature of the process, and my paper choices definitely reflect that.

Burnishing
Handheld baren by Essdee
⦿
Wooden lever press by Woodzilla
I’ve tried all the handheld burnishing tools you can think of, from the Japanese bamboo barens to the big chunky posh ones, to the simple back-of-a-wooden-spoon method, but I’ve never found one that works better in conjunction with the other materials I use than the small, sturdy red one by Essdee.
It comes as part of a set (with removable blades enabling it to transform into a cutting tool) and it’s so affordable you might think it would be flimsy, but I find that the compact size and relatively small diameter of the base enable me to get the most pressure in a targeted way. This is important to me as I like having control over the amount of ink transfer and texture in different areas of the image.
For years I’ve made all my prints using this traditional burnishing method (handheld baren only), but I have recently started using a wooden lever press by Woodzilla. You can see how this works by visiting the Woodzilla Press youtube channel.